
One-Stop Game Development Workflow: VberAI Takes One UI Image into Unity
One game screen runs through AI image generation, in-place UI slicing, an Engine MCP write into the open Unity scene, and a motion preview—without hopping between tools to slice and rebuild the hierarchy.
- vberai
- ai-studio
- game-ui
- inplace-slice
- unity
- mcp
- cursor
- tutorial
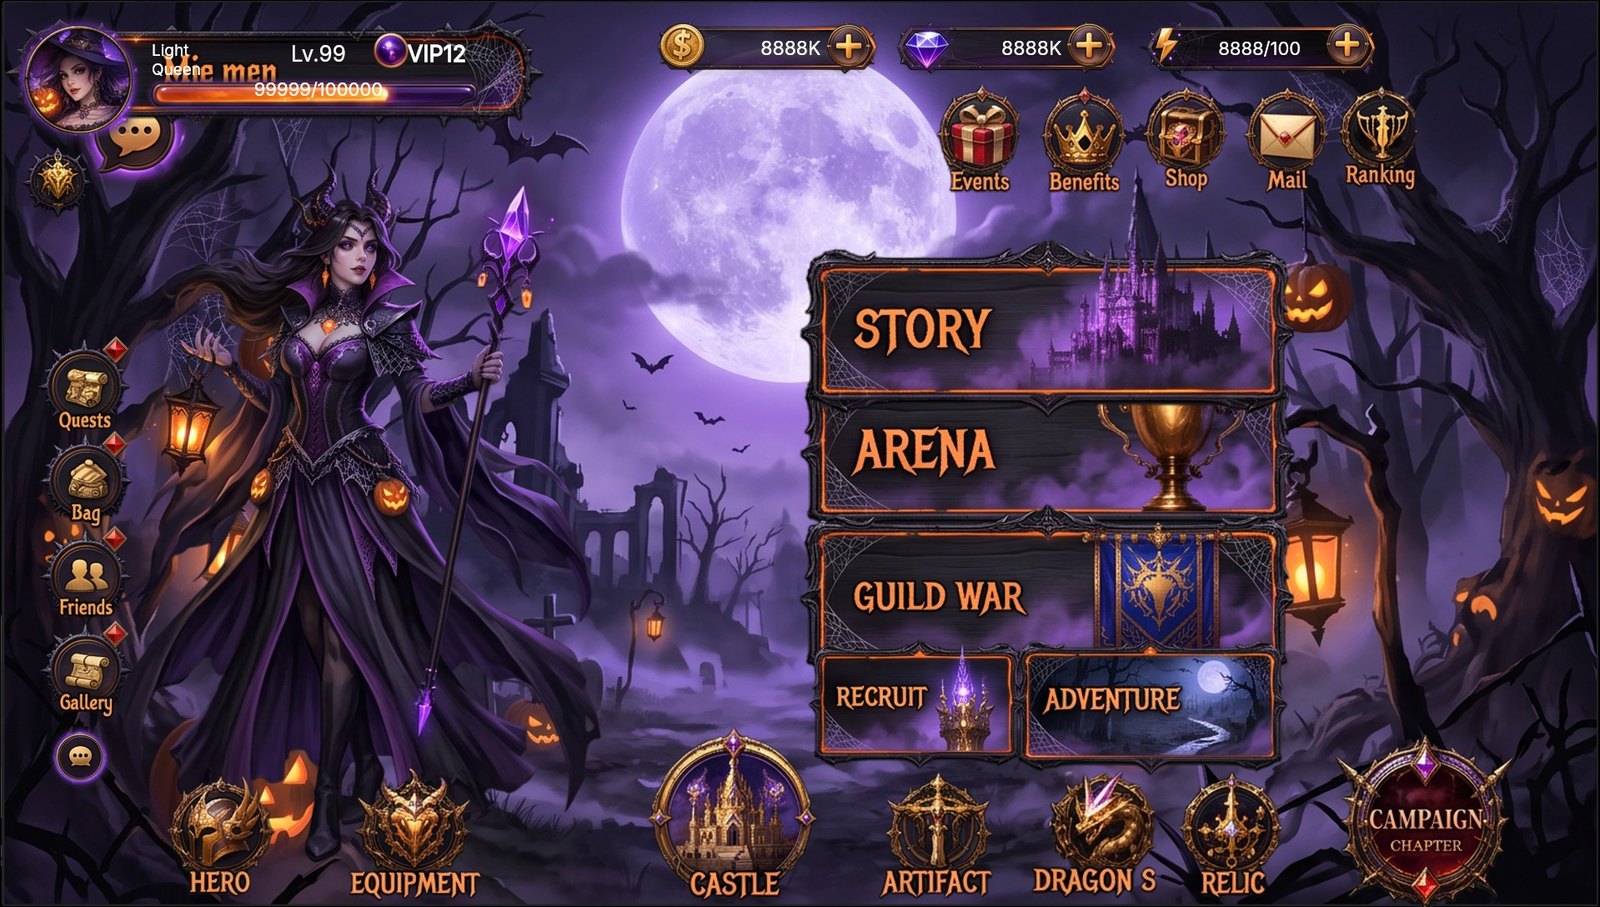
Game UI often breaks across tools. The image sits in one app, slicing happens in another, and the hierarchy has to be rebuilt after import. This walkthrough uses one dark-gothic main menu to show four steps in VberAI Studio (not Google AI Studio): AI image generation, in-place slicing, writing into the engine, and a motion preview.
Open VberAI Studio.
1. Start from one full main menu
The source is a finished main menu. The character stands on the left, STORY and ARENA sit on the right, and a moonlit night fills the background. The input is one full screen, not a pile of loose icons.
This step is AI image generation. Character art and the main menu enter as one image. Slicing, the engine write, and the preview all use that same image.
2. Slice in place and extract the background
After the split, buttons, the character, and the currency icons leave their places. Only the moonlit background remains, with no UI on it. Elements are cut from the original coordinates, and the background is kept on its own.
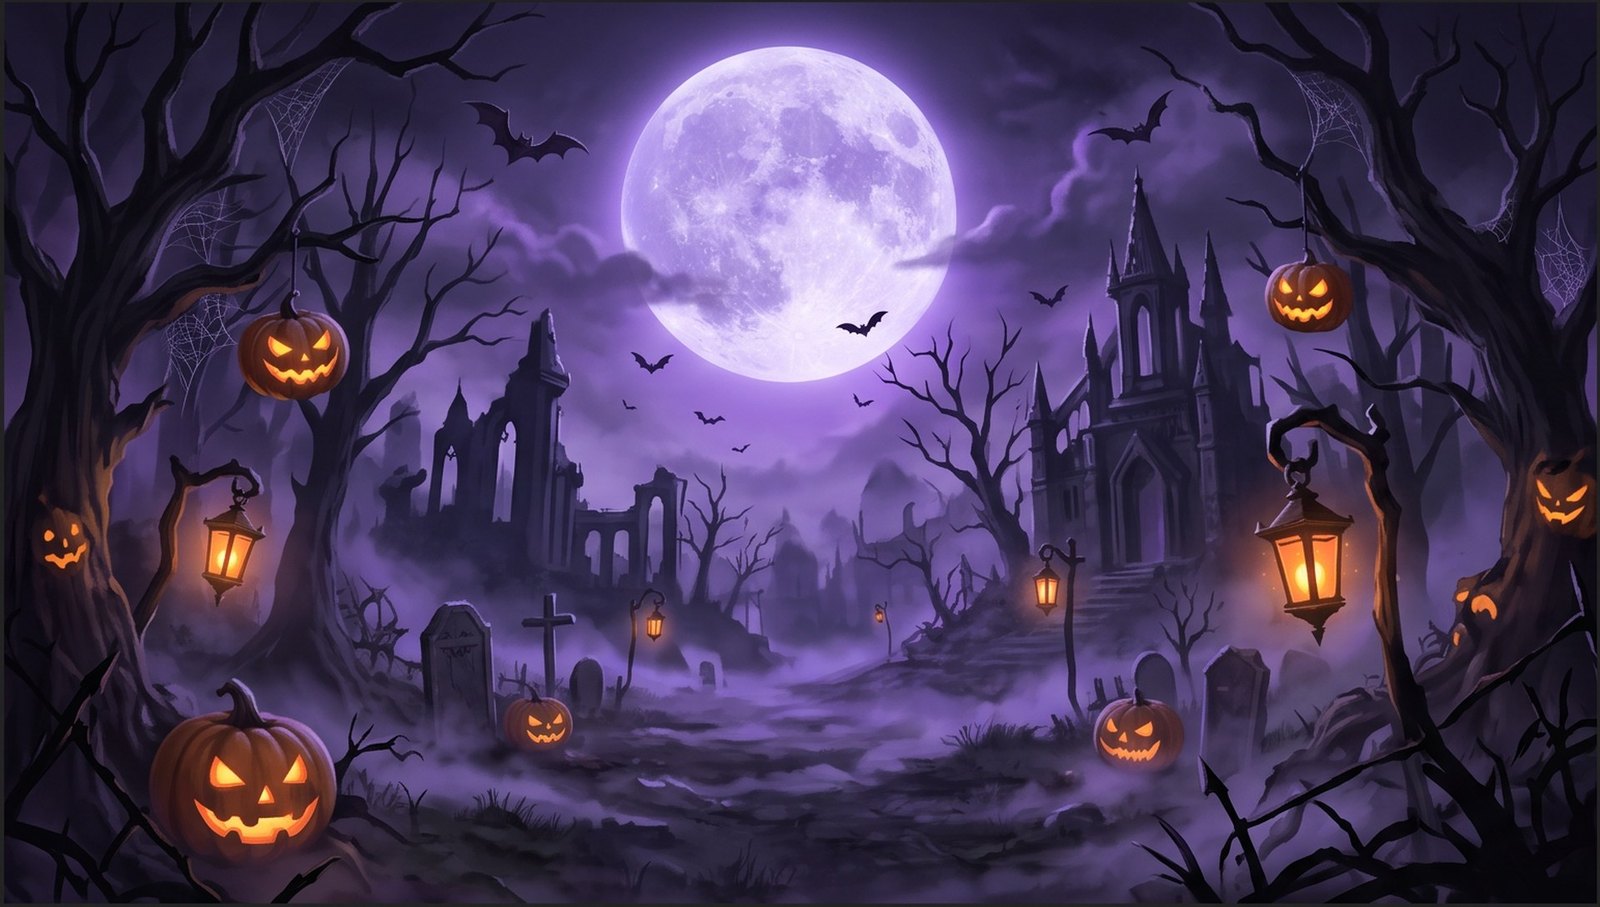
Exporting PNGs one by one in Photoshop drops position data. In-place slicing keeps relative position and size, so you do not line the pieces up against the mockup by hand. Steps: In-place slice.
3. Engine MCP: write into the current Unity scene
The sliced assets go into the engine next. The demo opens the Engine MCP panel. The prompt on screen is the Chinese line 「把图层3写入当前 Unity 工程」. “图层3” is the file name of this main menu. A summary appears first, then five checks:
- Import the generated art
- Place the sliced elements back
- Extract a clean background
- Write the character into the scene
- Check the current scene
When all five pass, the panel reports that the write is complete.
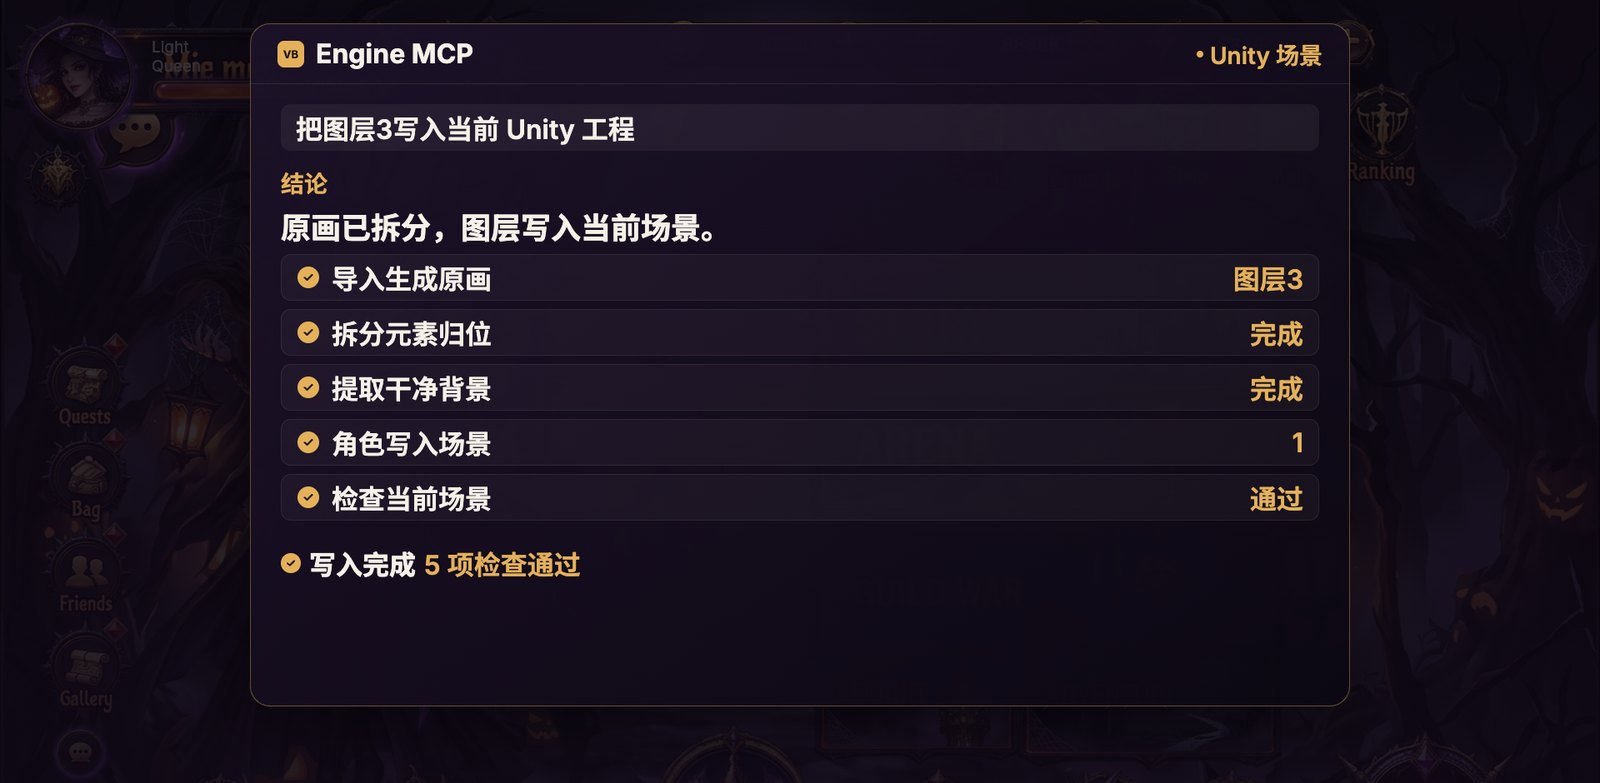
The target is the current Unity scene. Layout follows the slice, instead of dropping unnamed PNGs into a folder. To wire buttons and values from Cursor, use the same Engine MCP. Install: Unity MCP install.
4. Preview motion on the same screen
The preview uses the layers just sliced. The background is the extracted moonlit scene, the character is the same illustration, and STORY and ARENA are the sliced buttons. She steps forward and swings her staff. A spell leaves the tip, and the buttons light up where they belong.
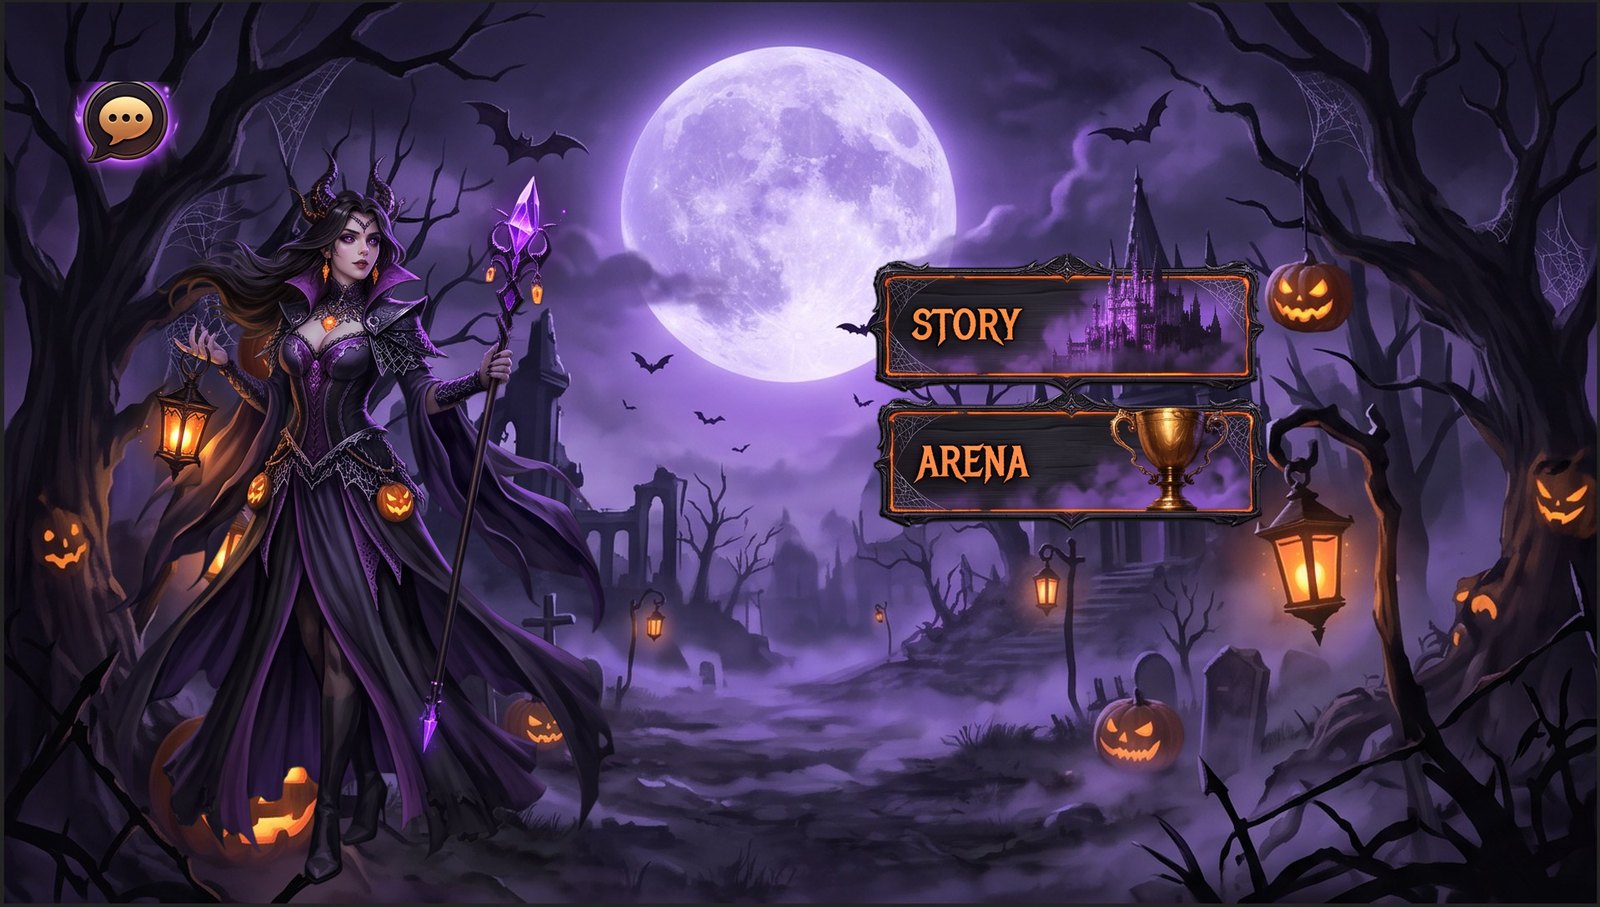
The chat bubble at the upper left stays put. It does not follow the character. It is a fixed UI control.
Sliced stills can return to the same background as a preview: motion you can watch, and the buttons lighting where they sit. Button navigation and numeric values still need to be wired in Unity, through Engine MCP or a script.
What each step takes off the manual path
| Step | What you see | Manual work it replaces |
|---|---|---|
| AI image generation | A full gothic main menu | Assembling a mockup from scratch |
| In-place slice | Elements leave; only the background stays | Exporting each button as a PNG in Photoshop |
| Engine MCP | Layers written into the current Unity scene | Rebuilding the hierarchy after import |
| Motion preview | The same character and buttons move on the original background | Building a separate demo from other art |
Limits
- The demo uses this one main menu. Slice quality depends on how clear the source is, and on whether control edges are readable.
- The MCP panel shows a completed write and passed checks. Button navigation and value updates still need logic in the Unity scene.
- The motion preview uses this illustration and the sliced buttons. It is the same set of layers as the main menu above.
Wrap-up
One screen can stay on one path: generate the image, slice it in place, write it into Unity, and preview those same layers in motion. Open AI Studio.
Keep reading
More guides you might like
AI Image Gen: VberAI First to Ship GPT Image 2.5—Edit, Split, and Send Game Art to Engine
VberAI Studio is first to ship GPT Image 2.5 (also GPT Image 2, Nano Banana 2 / Pro, Wan 2.7, and more). Text-to-image, image-to-image, and presets stay on the game canvas for edit, split, and export to Unity / Godot / Cocos.
- vberai
- ai-studio
- image-gen
- text-to-image
Figma / PSD Handoff Checklist: How Game UI Designs Avoid Rework
For game UI designers: layering, naming, multi-state buttons, 9-slice, and localization checks before Figma-to-Unity or PSD-to-UGUI export—manual slicing vs structured export, reskin, and live-ops UI localization.
- game-ui-design
- figma-to-unity
- psd-to-unity
- ui-slicing
Which AI Tool for Game Design Art? Game Asset Generators vs General AI Art (2026)
Which AI tool for game design art? Compare Layer AI, PicLumen, Meshy, Morphic, Unity AI UI, and general tools like Midjourney by deliverable type (concept, 2D, UI, 3D). See how VberAI Studio extends the pipeline with canvas edit, split, and prefab export to Unity / Godot / Cocos—plus planned 3D-to-prefab sync.
- game-art
- ai-tools
- concept-art
- game-ui